Which file formats do you use to send the edited images back to me?
We offer a wide variety of file formats to suit your workflow — whether you're preparing images for web, print, eCommerce, or design software. You can choose your preferred file format when placing your order.
Table of Contents:
- Return File Formats and Background Options
- How to Choose Your Preferred File Format
- How to Request Multiple File Formats
- Review Your Preferences Before Submitting
Return File Formats and Background Options
Below is a complete list of file formats we support, along with the types of backgrounds available for each:
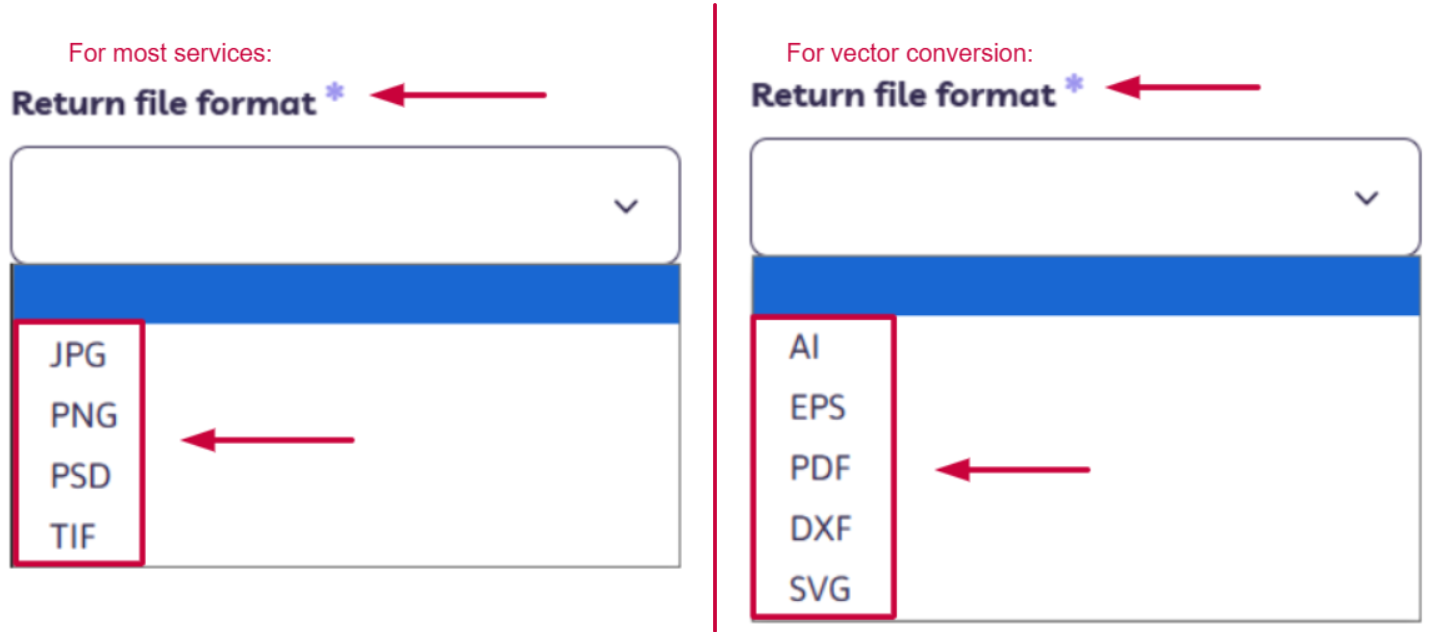
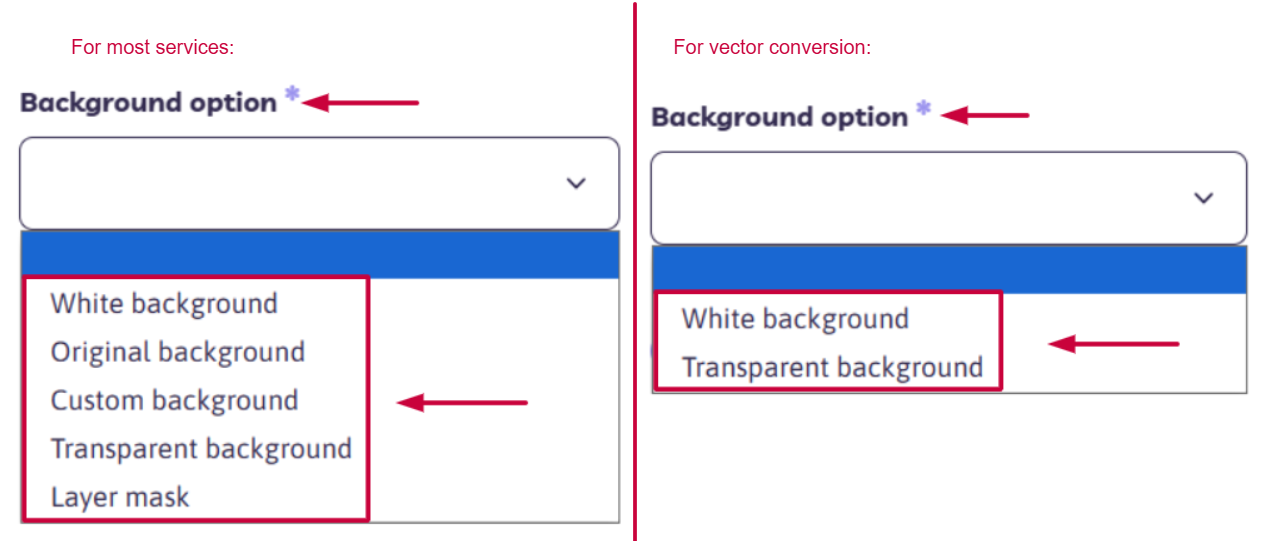
For most services:
| Format | Common Use | Background Options |
|---|---|---|
| JPG | Ideal for web use, fast loading, and general-purpose viewing. | Original, White, Custom |
| PNG | Supports transparency, perfect for logos and web graphics. | White, Custom, Transparent |
| PSD | Adobe Photoshop file with editable layers — great for designers. | Original, White, Custom, Transparent, Layer Mask |
| TIFF | High-resolution, lossless format used for professional printing. | Original, White, Custom, Transparent, Layer Mask |
🎨 What is a Layer Mask?
A layer mask is a non-destructive editing option available for PSD and TIFF formats. It allows you to hide or reveal parts of an image without permanently deleting any pixels — perfect for designers who want full control over the background or isolated subjects.
For vector conversion service:
| Format | Common Use | Background Options |
|---|---|---|
| AI | Adobe Illustrator’s native vector format for scalable graphics. | White, Transparent |
| EPS | Print-ready vector format, compatible across design software. | White, Transparent |
| Print-ready and universally viewable — includes vector content. | White, Transparent | |
| SVG | Scalable vector for web and UI — commonly used for icons. | White |
| DXF | CAD-compatible vector format used for CNC, laser cutting, etc. | White |
⚙️ How to Choose Your Preferred File Format
You’ll be able to select your desired return file format during the order placement process. Here’s how:
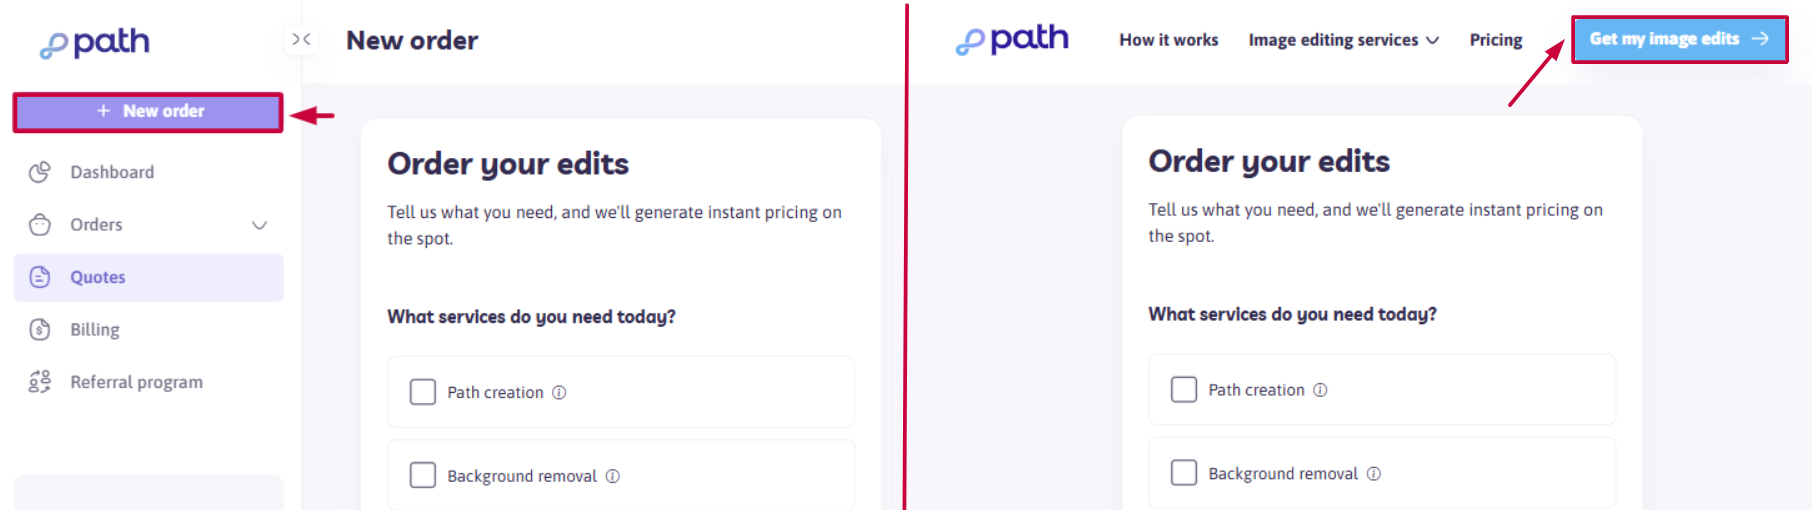
Step 1: Start a New Order
Click “Get my image edits” on our website or “New Order” from your dashboard. Upload your images, select the required services, and provide instructions.
Follow the prompts to select services and upload your images.
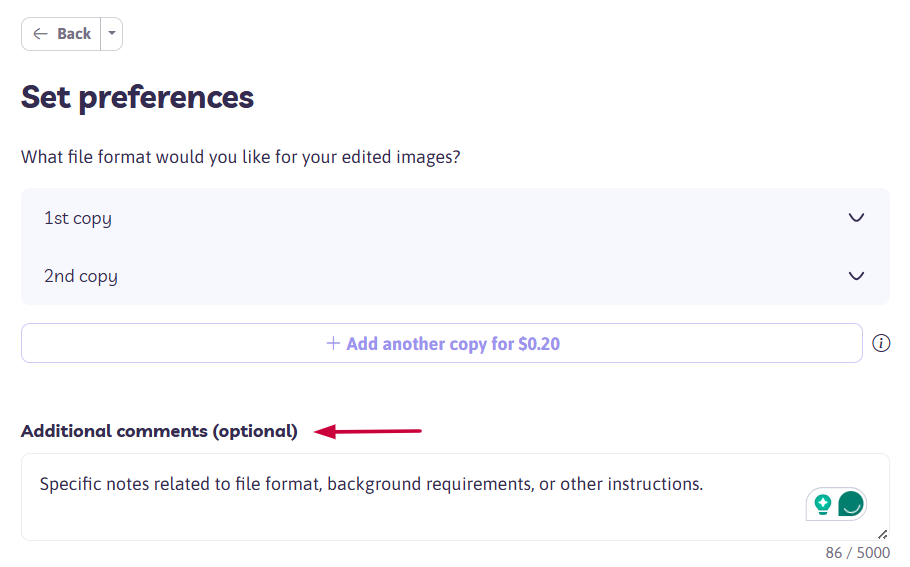
Step 2: Set Preferences (Page 4)
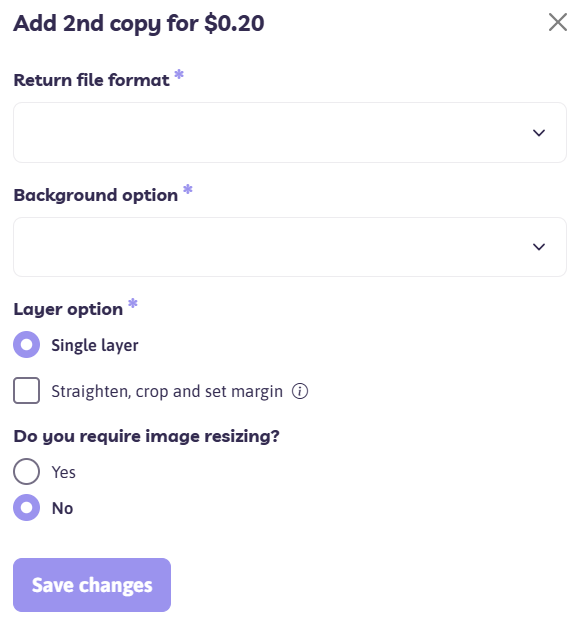
On the fourth step of the form, after reviewing the price for your selected service, you’ll be prompted to set your preferences by clicking the "Add details" button.
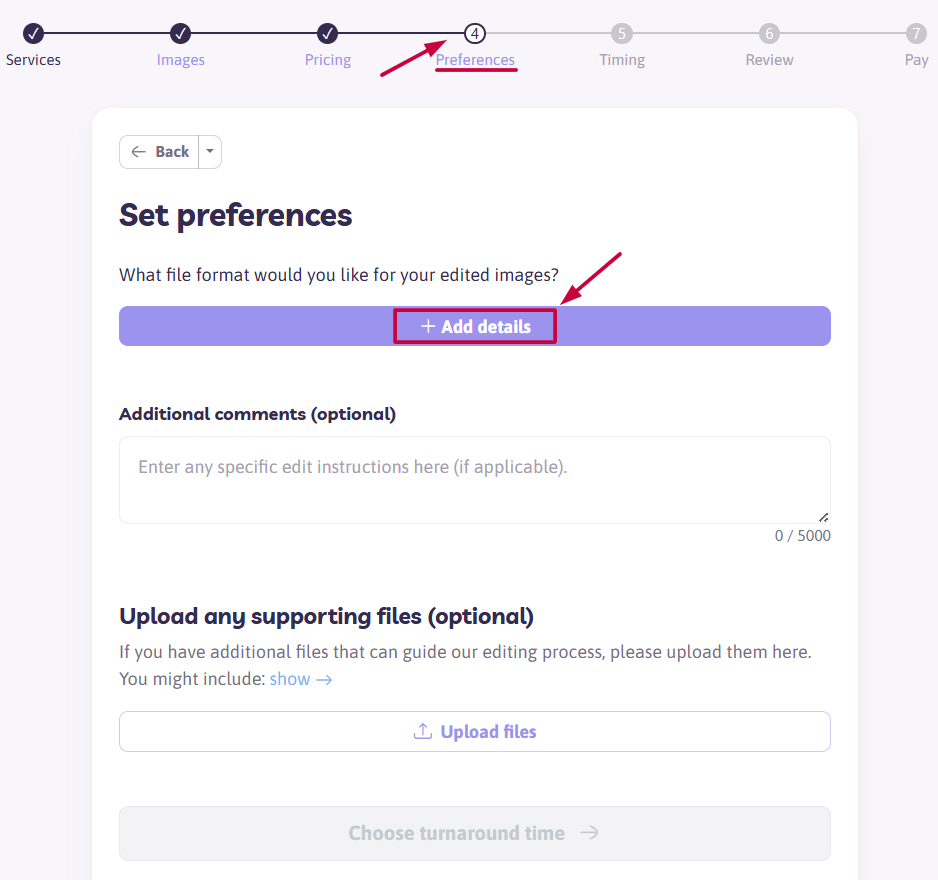
Set your preferences for a return file, including:
- Return File Format
- Background Preference
Note: Custom Background
If you select a custom background, you’ll be asked to provide either a hex color code (e.g., #ffffff for white), or the name of a background image (make sure to upload it under the "Upload any supporting files" section).

- Layer Option (if applicable)
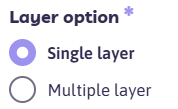
Miltiple layer option is only available for PSD and TIFF file formats.
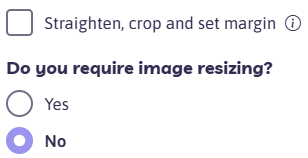
- Other Adjustments: Straighten, Crop, Margin settings, and Resizing.
🔁 How to Request Multiple File Formats
Want the edited image returned in more than one format (e.g., a PNG and a layered PSD)? You can easily do that:
Step 1: Click “Add another copy"
After setting the preferences for your first copy, click “Add another copy”.

Step 2: Set preferences for your copy
You’ll be prompted to select the return format, background, and other preferences for the second version.
🔎 Important notes:
- Repeat this process if you’d like additional versions. Each file version will be included in your final delivery package.
- You can also leave specific notes related to file format, background requirements, or other instructions in the “Additional copies” section.
📋 Review Your Preferences Before Submitting
Before finalizing your order, expand each copy’s row to double-check the file format, background, and other preferences:

Need help along the way?
Our support team is here for you! Just reach out anytime.